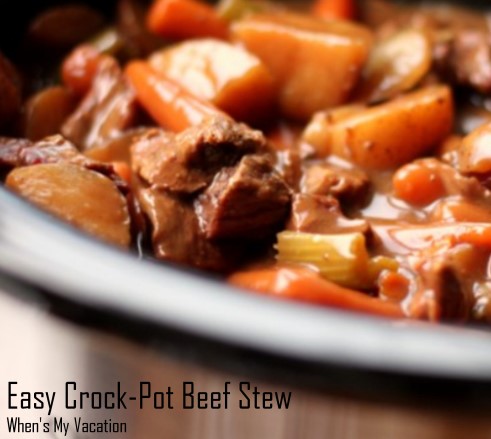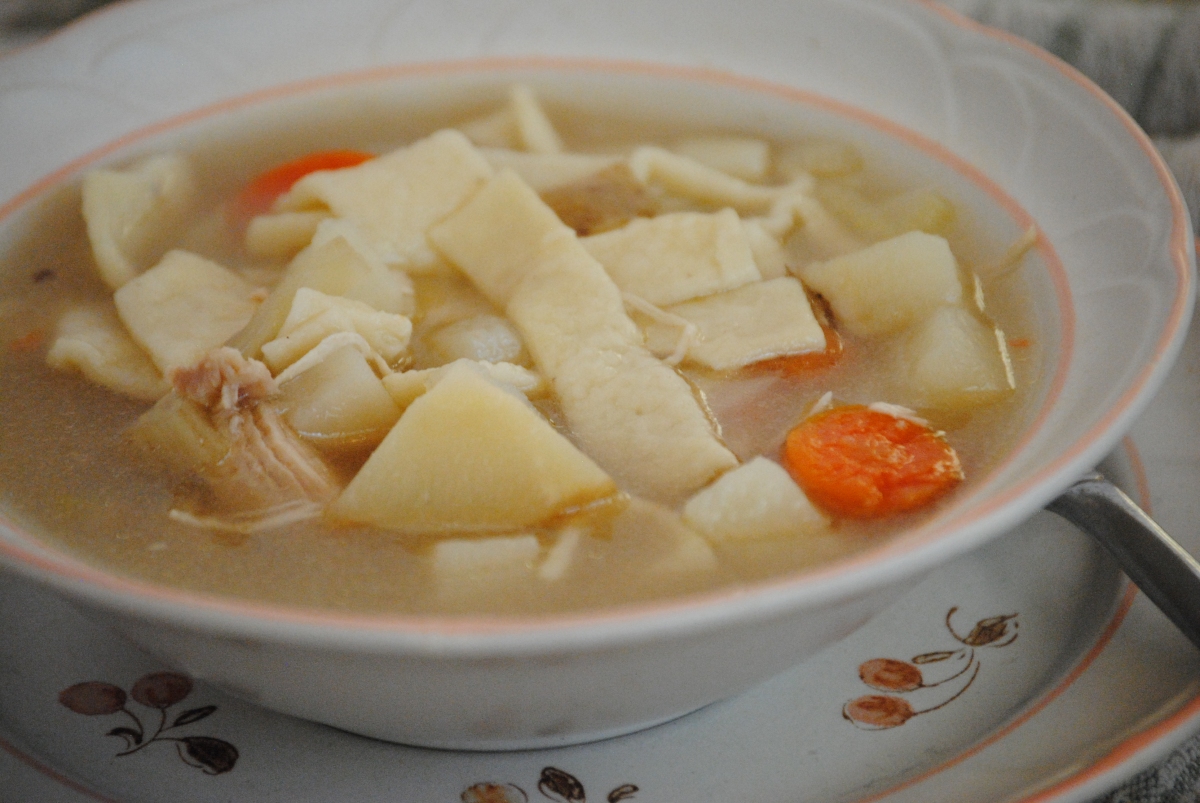
My mom’s homemade chicken noodle soup is the best. That is all. It’s like a delicious bowl of warm blanket that wraps you up with every bite. I can still remember the first time I had canned chicken noodle soup. I was at the babysitters house. She put this bowl of stuff in front of me and said lunch is ready. I asked what it was. “It’s chicken noodle soup.” she said with a smile, thinking she had given me something warm and delicious. I was polite and ate it. It was OK, I thought, but that stuff is NOT chicken noodle soup. Chicken noodle soup, as I knew it, was full of flavor with big chunks of chicken, potatoes, and carrots, delicious homemade broth, and… wait for it… homemade noodles.
Mom's Chicken Noodle Soup Recipe

This chicken noodle soup recipe is how my mom used to make it with a few tweaks of my own. It's so basic. It does take some time to do it right, but it's so worth the wait. It's perfect for cold days or when your sick. It makes a lot, but that's ok. It's even better second day.
Ingredients
- 1 whole chicken
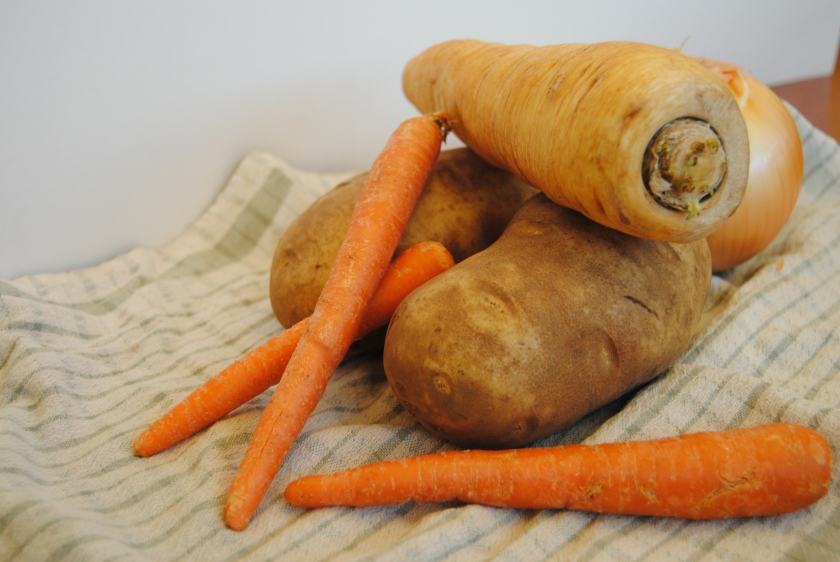
- 1 small onion roughly chopped
- 2 bay leaves
- 2 carrots peeled and chopped
- 2 medium russet potatoes chopped (I like to leave the peels on)
- 1 Fennel bulb sliced 1/4 inch thick
- 1 large parsnip peeled and chopped
- 1 tsp thyme
- 1/2 tsp oregano
- salt and pepper to taste
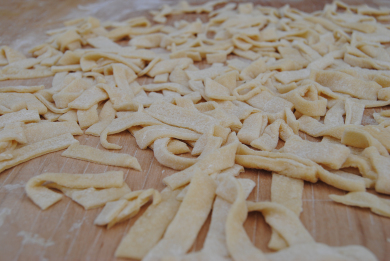
- 1 recipe homemade egg noodles (you can substitute egg noodles from the store, but they’re REALLY not as good)
Directions
- Place chicken in a large stock pot and fill with enough water to cover by about 2 inches along with the onion, bay leaves, and plenty of salt and pepper. Bring to a boil then reduce heat to a simmer. Simmer for 1 1/2 – 2 hours.
- Place chicken on a plate to cool slightly.
- Strain broth and place in fridge for an hour or so to bring fat to the top. You can skip this step, but it allows you to skim the fat off which I prefer.
- Return broth (sans fat) to the pot along with the carrots, potatoes, fennel, parsnip, and spices and bring to a boil on high heat.
- Once it begins to boil, lower the heat to maintain a low boil until the veggies are tender, about 15-20 minutes.
- Add chicken and noodles and boil another 10-15 minutes.
Enjoy with Delicious Crusty Beer Bread. Do you have a recipe for food that’s more comforting than this? If so, please share.